How yoga can help relieve lower back pain.
Millions of people across the country suffer from lower back pain on a regular basis. This pain can become so intense that even simple tasks are difficult to complete. If you suffer from this issue, treatments such as physical therapy and pain medications have probably become a part of your regular regimen. Practicing yoga is another way to relieve back pain because of its positive effects on muscles and joints.
Today, we’re going to describe some lower back pain yoga poses that are often used in yoga classes.
Cat-Cow Pose
Start this warm-up pose by getting onto your hands and knees in the Tabletop position. Your knees must be directly under your hips while keeping the wrists, elbows, and shoulders perpendicular to the floor. Hold your head in a neutral position, eyes pointed to the floor.
Inhale and lift your sitting bones and chest upwards, letting your stomach sink toward the floor. Finally, lift your head and look forward to complete the pose. This is typically repeated for 10-20 breaths, but feel free to do more as needed.
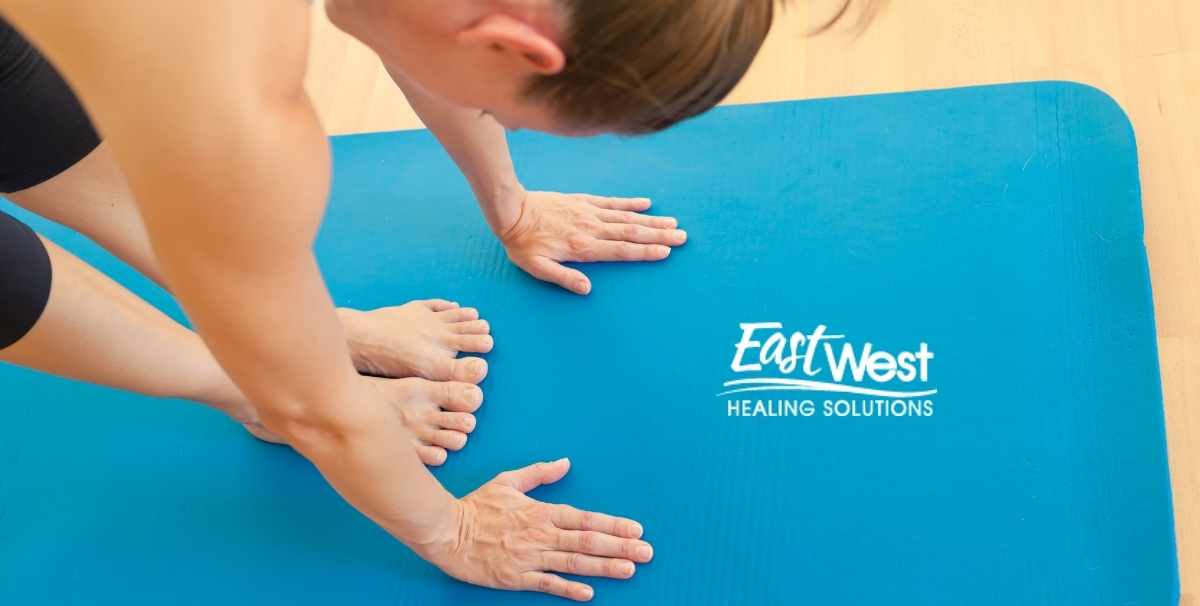
Downward-Facing Dog Pose
This extremely and popular yoga pose starts off just like the cow-cat pose with the Tabletop position. Curl your toes, push in your shoulders, and move your hips up and back. From there, press down with your palms and fingertips, which will pull your forearms toward the front.
Next, roll your inner upper arms in front of you while you engage the outer upper arms. Move your shoulder blades out and up away from your spine and toward your outer armpits. You want to form a straight line through your wrists, shoulders, and hips, so feel free to bend your knees a little bit if you need to lift your hips higher.
To complete the pose, allow your head to hang freely with your eyes pointed at your feet. Hold your breath for a few seconds and then exhale as you return to the Tabletop position.
Child’s Pose
Begin by kneeling on the floor. Touch your big toes together, sit up on your heels, and move your knees hips-width apart. Breathe out and rest your torso between your thighs. From there, broaden your sacrum across the rear of your pelvis and narrow your hip points toward your navel, resting these points on your inner thighs.
Next, lengthen out your tailbone while lifting the base of your skull away from the back of your neck and set your forehead against the mat. Finally, stretch your arms forward, palms down and fingers spread out.
Standing Forward Bend
With this pose, you’ll begin in the Tadasana position, which is standing up straight, hands on your hips. Breathe out and bend forward at your hips to lengthen out your front torso. From here, keep your knees straight and move your palms toward the floor slightly in front of or beside your feet, or to the backs of your ankles. If you have difficulty doing this, the alternative is to cross your forearms and hold the elbows.
Either way, you’ll then want to press your heels firmly into the floor, lift your sitting bones upwards, and turn your top thighs slightly inward. When you inhale, lift your body slightly upwards. Then, when you exhale, relax into the pose a little more. While doing this, your head should be hanging from the root of your neck.
Sphinx Pose
This pose is also used commonly as a warm-up at the beginning of a lower back pain yoga session. Start off on your stomach with your legs pressed together. Firm up your tailbone toward your pelvis and then lengthen it out toward the heels.
Next, rotate your thighs inward and continue lengthening out to protect your lower back. From there, set your elbows beneath your shoulders and your forearms parallel on the floor. Breathe in and lift your upper torso and head from the floor so that you get into a mild backbend.
Then, gingerly draw your lower stomach away from the floor so that you’re distributing the curvature of your backbend along the spine. Remain in this position for 5-10 breaths and finish by lowering your torso to the floor.
Wind-Relieving
Also known as the Knees-to-Chest Pose, you begin this exercise by laying fully extended on your back. Bend your knees and lift your feet off the floor one at a time, with your knees close to your chest. With both hands, hold either your shins or thighs and hug your knees against your chest.
Finally, rock your body gently from side to side, which will massage your lower back. Remain in this position for as long as you’d like and then return to the fully reclined starting point.
Garland Pose
Start this pose by squatting down, feet as close together as you can get them. Then, with your heels grounded on the floor (if you can), stick a rolled-up mat or towel under them. Next, move your thighs so that they’re slightly wider apart than your torso.
As you exhale, move your torso forward so that it rests between your thighs. Finally, press your elbows against your inner knees with your palms together in the Salutation Seal and rest your knees into your elbows so that your front torso will stretch out. Hold this position for 30-60 seconds.
Contact East West Healing Solutions for Lower Back Pain Yoga
East West Healing Solutions is the leader of yoga and massage services in Palm Harbor, FL. If you have any questions about lower back pain yoga or any of the other services offered at our wellness studio, please contact us by calling (727) 216-3972 today to schedule a class at our Palm Harbor Yoga studio!


